
Death Stranding 2: On the Beach has always been about the journey, not the destination. But the new To the Wilder difficulty mode transforms that journey into a survival horror experience that punishes even the most experienced porters . Released alongside the PC version on March 19, 2026, this free update challenges players to rethink everything they know about delivering packages.
If you’re attempting this mode, you’ll need a comprehensive Death Stranding 2 To the Wilder difficulty guide to survive. Here is everything you need to know.

What Changes in To the Wilder
To the Wilder isn’t just a simple damage multiplier. Kojima Productions has fundamentally rebalanced multiple systems to create a consistently tense experience . Enemy damage is significantly increased, but that’s just the beginning.
MULE and terrorist camps are more aggressive and better equipped. They patrol wider areas and respond faster to incursions . Weather effects are more severe, with timefall damaging cargo faster and BTs appearing in denser clusters. Terrain itself becomes more treacherous, with slippery surfaces causing more frequent falls and cargo damage.
The most significant change is to cargo degradation. Packages deteriorate faster, and repair sprays are less effective. Every delivery becomes a race against time, forcing players to prioritize routes and accept that some cargo loss is inevitable.
Here is the breakdown of To the Wilder difficulty changes:
| Aspect | Normal Difficulty | To the Wilder | Survival Tip |
|---|---|---|---|
| Enemy Damage | Moderate | High (often 2-hit kill) | Stealth is essential, avoid direct combat |
| MULE Aggression | Reactive | Proactive patrols | Use terrain to break line of sight |
| Cargo Degradation | Slow | Rapid | Prioritize deliveries, accept some loss |
| Weather Effects | Manageable | Severe timefall, more BTs | Time shelters, carry extra repair spray |
| Terrain Hazard | Occasional | Frequent falls | Use power skeleton, pack light |
| BT Density | Scattered | Clustered | Hemantic grenades are essential |
Route Planning Becomes Everything
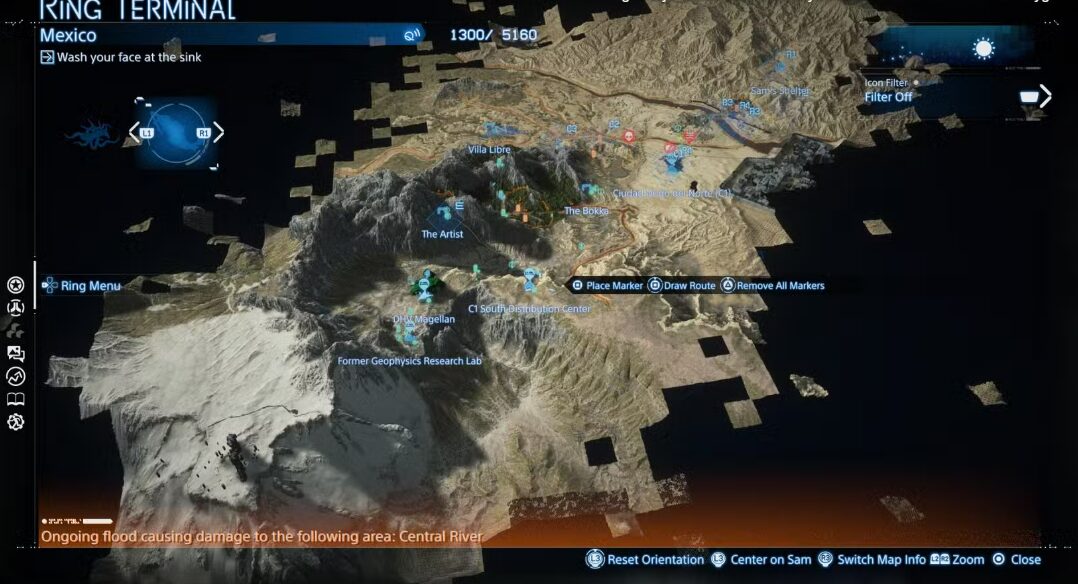
In normal difficulty, you can afford to take scenic routes. In To the Wilder, every step must be justified. Before leaving a distribution center, open your map and plot the most efficient path, considering terrain difficulty, known enemy positions, and weather patterns.
The chiral network becomes your most valuable asset. Prioritize connecting new facilities to unlock other players’ structures. Ziplines, roads, and safe houses built by the community can mean the difference between success and failure . Contribute your own structures strategically—well-placed ziplines in mountainous regions will earn you thousands of likes and help everyone survive.
Always have an escape route planned. If you encounter unexpected BTs or MULE patrols, knowing where to retreat can save hours of progress. Memorize the locations of distribution centers and prepper shelters along major routes.
Combat Is a Last Resort
In To the Wilder, fighting is usually the wrong answer. Enemy damage is so high that even a single mistake can end your run . Stealth should be your default approach for MULE camps and terrorist territories.
Use the odradek scanner constantly to track enemy movements. Crouch-walk through tall grass and use rocks to distract patrols. If you must engage, non-lethal takedowns from behind are safer than direct confrontation. The bola gun is your best friend—it immobilizes enemies quietly and gives you time to escape.
For BT encounters, avoid them entirely when possible. Hold your breath and slowly move around their patrol areas. If you trigger a BT encounter, you have two choices: run like hell or fight. Running works if you’re close to safe territory. Fighting requires hemantic grenades and, eventually, fighting a catcher. In To the Wilder, catchers are brutal. Save your game before attempting.
Loadout Optimization
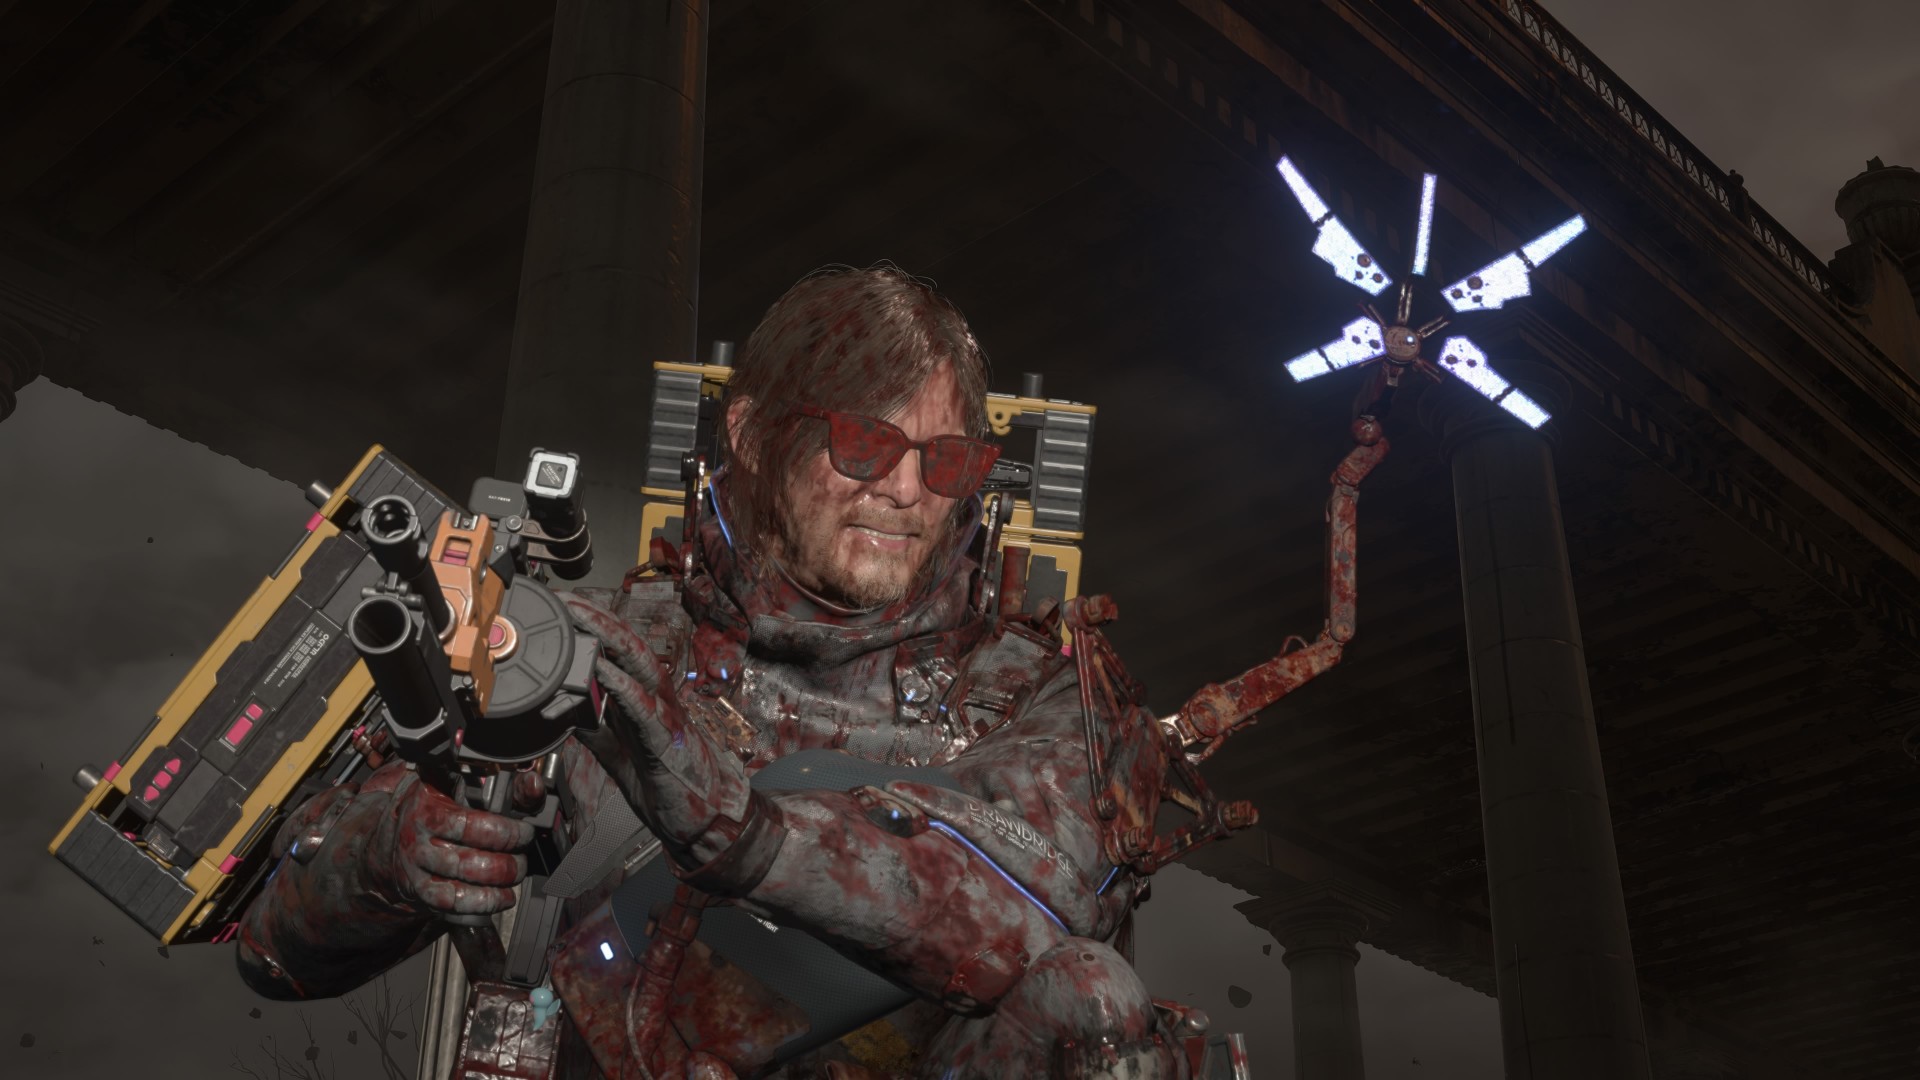
Your cargo weight directly affects your stability and stamina consumption. In To the Wilder, carrying too much is a death sentence . You need to be ruthless about what you bring.
Essential items for every trip:
- Power skeleton for mountainous regions, all-terrain skeleton for flat areas
- At least two hemantic grenades for BT emergencies
- Two repair sprays minimum
- One climbing anchor (you can fabricate more if needed)
- One ladder (same principle)
- Blood bags based on trip length
Everything else is negotiable. If a standard order offers heavy cargo that forces you to move slowly, seriously consider whether the reward is worth the risk . Sometimes abandoning an order and eating the penalty is smarter than dying and losing everything.
Vehicle Usage
Vehicles are powerful but have limitations in To the Wilder. The reverse trike is fast but offers no cargo protection and leaves you exposed. The truck protects cargo but gets stuck easily and attracts MULE attention.
When using vehicles:
- Never drive through BT territory—they’ll catch you and you can’t escape
- Avoid MULE roads if possible—they set traps specifically for vehicles
- Keep repair spray for your vehicle too; a broken truck in MULE territory is a disaster
- Use vehicles for bulk material transport between safe zones, not for exploration
The floating carrier remains the safest option for difficult terrain. It doesn’t attract enemies and lets you move cargo while keeping your hands free. Master the carrier and you’ll master To the Wilder.
Structure Strategy
Other players’ structures are randomized based on your gameplay data, but you can influence what appears. Building useful structures in one area increases the likelihood of helpful structures appearing elsewhere.
Prioritize building:
- Ziplines in mountain regions (connect peaks to distribution centers)
- Safe houses along long routes without shelters
- Bridges over rivers that flood during timefall
- Timefall shelters in BT-heavy areas
When you see a helpful structure built by another player, like it. The likes system encourages continued contribution and helps the algorithm show better structures to everyone.
Mental Preparation
Finally, To the Wilder requires a different mindset than normal difficulty. You will fail. Cargo will be lost. Deliveries will be late. Sam will die. This is normal.
The mode is about resilience and adaptation. Every failure teaches you something about route planning, loadout optimization, or enemy behavior. Take those lessons into your next attempt. The satisfaction of finally completing a brutal delivery after multiple failures is what makes To the Wilder worth playing.


